Decadence in Minutes: 5 Minute Easy Chocolate-Dipped Strawberries Recipe!

Indulge in Decadence: 5-Minute Fresh Chocolate-Covered Strawberries
Welcome! Are you ready to elevate your snacking game to new heights of deliciousness in just five minutes? Today, we’re diving into the world of chocolate-covered strawberries—a divine treat that blends the sweetness of juicy strawberries with the richness of velvety chocolate. And the best part? You can whip them up in a mere five minutes, making them the ultimate go-to for last-minute cravings or impromptu gatherings.
Ingredients:
– Fresh strawberries (as many as your heart desires)
– High-quality chocolate (dark, milk, or white—pick your favorite!)
– Optional toppings (chopped nuts, shredded coconut, sprinkles)

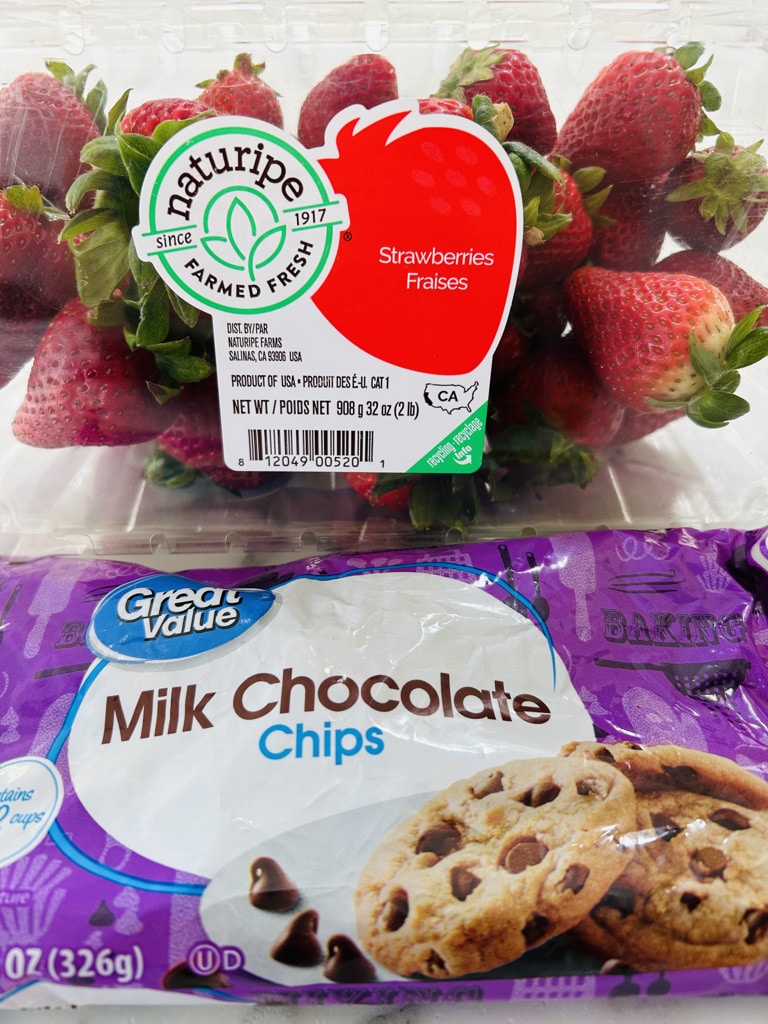
I used Naturipe Strawberries and Great Value Milk Chocolate Chips, both from Walmart.


The How To
Step 1: Gather Your Ingredients
Ensure you have all your ingredients handy. A parchment-lined baking sheet, and a small microwave-safe bowl.
Step 2: Prep Your Strawberries
Give your strawberries a quick rinse under cold water and pat them dry with a paper towel. This step ensures that your strawberries are clean and ready to be coated in chocolatey goodness.
Tip: The most important step to chocolate-covered strawberries is making sure the strawberries are absolutely dry, so the chocolate will stick.
Step 3: Melt Your Chocolate
Pour your chocolate into a small microwave-safe bowl. A small bowl is helpful to give you a bigger depth of chocolate to dip your strawberries in.
Microwave the chocolate in 30-second intervals, stirring in between, until it’s completely melted and smooth. Be cautious not to overheat the chocolate as it can seize and become grainy.
Step 4: Dip!
Hold a strawberry by the stem and dip it into the melted chocolate, swirling it around to ensure it’s evenly coated. Allow any excess chocolate to drip off before placing the strawberry on a parchment-lined baking sheet.
Step 5: Customize Your Creations
This step is where you can get creative! Sprinkle chopped nuts, shredded coconut, drizzle another kind of chocolate, or pour colorful sprinkles over the freshly dipped strawberries. The options are endless!
Step 6: Let Them Set
Place the baking sheet of chocolate-covered strawberries in the refrigerator for about 30 minutes to allow the chocolate to set. Once set, they’re ready to be enjoyed!
Step 7: Indulge!
Congratulations, you’ve just created a batch of irresistible chocolate-covered strawberries in a mere five minutes! Now, it’s time to treat yourself and your loved ones to these decadent delights. Whether you’re enjoying them solo or sharing them at a gathering, these little bites of heaven are sure to impress.
Tips & Tricks:
– Use high-quality chocolate for the best flavor and texture. Here, I’ve used my favorite Great Value Milk Chocolate Chips.
– Experiment with different types of chocolate—dark, milk, and white—for a variety of flavor profiles.
– Get fancy with your toppings! Crushed Oreos, drizzled caramel, or even a sprinkle of sea salt can take your chocolate-covered strawberries to the next level.
– Don’t limit yourself to just strawberries—try dipping other fruits like bananas, pineapple, or even citrus slices for a refreshing twist.
So there you have it, —easy, indulgent, and downright irresistible chocolate-covered strawberries in just five minutes flat! Whether you’re treating yourself or sharing with others, these little bites of heaven are guaranteed to satisfy even the most insatiable sweet tooth. So, what are you waiting for? Get dipping and let the decadence begin!
Common Questions
1. What are some common issues that might arise when melting chocolate, and how can they be avoided? Don’t burn your chocolate in the microwave! This is very easy to do, so only melt your chocolate in 30 second increments, stirring before microwaving another 30 seconds.
2. “How long do chocolate-covered strawberries last in the refrigerator? They will typically last for up to two days in the refrigerator. They may last longer though. Simply inspect the strawberries: if the chocolate has fallen off or the tops of the strawberries appear mushy, you’ll probably want to toss them.” From foodnetwork.com
3. Can the chocolate-covered strawberries be made in advance, and if so, how should they be stored to maintain freshness and flavor?
“Chocolate-covered strawberries are best enjoyed fresh, but you can prepare them a day in advance. Once the chocolate has hardened, store them in an airtight container in the refrigerator. Remove them about 30 minutes before serving to let them come to room temperature, enhancing their flavor and texture.” From thestayathomechef.com

Decadence in Minutes: 5 Minute Easy Chocolate-Dipped Strawberries Recipe!
Equipment
- Baking sheet
- Parchment Paper
- Small Microwave Safe Bowl
Ingredients
- 12 strawberries
- 1 cup chocolate chips
Instructions
- Wash and dry the strawberries. Make sure they are completely dry so that the chocolate coating will stick.
- Pour your chocolate into a small microwave-safe bowl. Microwave the chocolate in 30-second intervals, stirring in between, until it's completely melted and smooth.
- Dip: Hold a strawberry by the stem and dip it into the melted chocolate, swirling it around to ensure it's evenly coated. Allow any excess chocolate to drip off before placing the strawberry on a parchment-lined baking sheet.
- Customize: Sprinkle chopped nuts, shredded coconut, drizzle another kind of chocolate, or pour colorful sprinkles over the freshly dipped strawberries. The options are endless!
- Cool: Place the baking sheet of chocolate-covered strawberries in the refrigerator for about 30 minutes to allow the chocolate to set. Once set, they're ready to be enjoyed!