The Best Gooey Homemade Pizookie Recipe

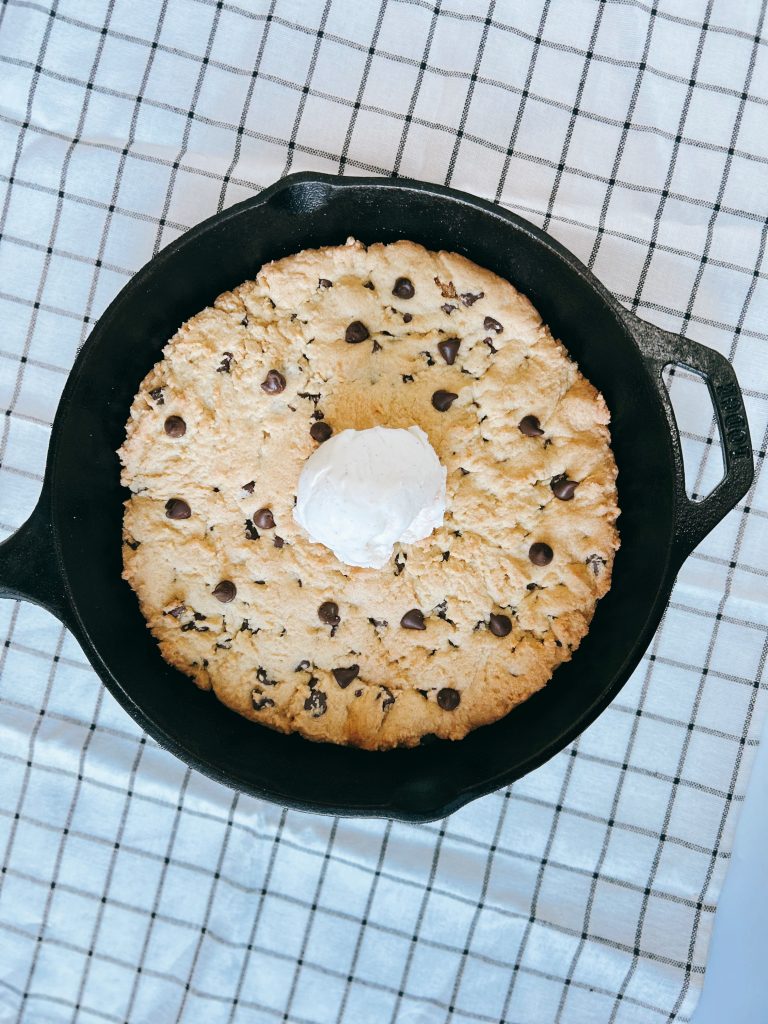
Looking for the perfect Valentine’s Day dessert or a cozy date night treat? This homemade pizookie (a cookie baked in a skillet) is gooey, buttery, and irresistibly delicious! Made with simple pantry ingredients and baked in a cast iron skillet, this warm chocolate chip cookie dessert is perfect with a scoop of vanilla ice cream on top.
❤️ Why You’ll Love This Pizookie Recipe
- Perfect for sharing – Ideal for date nights, Valentine’s Day, or a sweet weekend treat.
- Easy ingredients – Uses common pantry staples you already have.
- One-skillet recipe – No need for multiple bowls or baking sheets!

VISIT OUR JOURNEY TO HOME’S WALMART STOREFRONT
SHOP THIS RECIPE
Mixing Bowls | Cordless Hand Mixer | Spatula | Cast Iron Skillet | Danish Dough Whisk | Gluten Free Flour
Pizookie Ingredients
- 1 stick butter, melted
- ¼ cup granulated sugar
- ¼ cup brown sugar, packed
- 1 egg
- ½ teaspoon baking soda
- ¼ teaspoon salt
- ½ teaspoon vanilla extract
- 1 cup all-purpose flour
- ½ cup chocolate chips
How to Make a Pizookie
Step 1: Preheat & Prep
Preheat your oven to 350°F (175°C). Lightly grease a 12-inch cast iron skillet or butter it for extra flavor.
Step 2: Mix the Dough
- In a medium bowl, whisk together softened butter, sugar, and brown sugar until smooth.
- Add the egg and vanilla extract, mixing well.
- Stir in the baking soda, salt, and flour until a soft dough forms.
- Fold in chocolate chips.
Step 3: Bake to Perfection
Spread the dough evenly into the cast iron skillet. Bake for 12-15 minutes or until the edges are golden brown but the center is still soft.
Step 4: Serve & Enjoy!
Let the pizookie cool for a few minutes, then top with a scoop of vanilla ice cream and enjoy straight from the skillet!
Pizookie Tips & Variations
Make it extra gooey – Bake for 12 minutes for a softer center.
Add extra flavors – Mix in nuts, caramel, or white chocolate chips.
No skillet? – Bake in an 8-inch cake pan instead. Gluten Free? – Use All-Purpose GF Flour
Pairing Ideas
- Vanilla ice cream for the ultimate warm-and-cold contrast.
- Drizzle of caramel or chocolate sauce for extra indulgence.
- A sprinkle of sea salt to balance the sweetness.
This homemade pizookie is guaranteed to impress your date (or just treat yourself!). Try it out and let me know in the comments how you like it! ❤️🍪
If you liked this recipe check out: Chocolate Chip Scones
I hope you enjoyed this recipe, let me know how yours turned out in the comments!
-Hailee
HAVE YOU MADE AN OUR JOURNEY TO HOME RECIPE? UPLOAD A PICTURE TO FACEBOOK OR INSTAGRAM AND TAG US!
FOLLOW US ON PINTEREST
SUBSCRIBE TO OUR YOUTUBE CHANNEL
VISIT OUR JOURNEY TO HOME’S WALMART STOREFRONT
SHOP THIS RECIPE
Mixing Bowls | Cordless Hand Mixer | Spatula | Cast Iron Skillet | Danish Dough Whisk | Gluten Free Flour
The Best Gooey Homemade Pizookie Recipe
Ingredients
- 1 stick butter melted
- ¼ cup granulated sugar
- ¼ cup brown sugar packed
- 1 egg
- ½ teaspoon baking soda
- ¼ teaspoon salt
- ½ teaspoon vanilla extract
- 1 cup all-purpose flour
- ½ cup chocolate chips
Instructions
Step 1: Preheat & Prep
- Preheat your oven to 350°F (175°C). Lightly grease a 12-inch cast iron skillet or butter it for extra flavor.
Step 2: Mix the Dough
- In a medium bowl, whisk together softened butter, sugar, and brown sugar until smooth.
- Add the egg and vanilla extract, mixing well.
- Stir in the baking soda, salt, and flour until a soft dough forms.
- Fold in chocolate chips.
Step 3: Bake to Perfection
- Spread the dough evenly into the cast iron skillet. Bake for 12-15 minutes or until the edges are golden brown but the center is still soft.
Step 4: Serve & Enjoy!
- Let the pizookie cool for a few minutes, then top with a scoop of vanilla ice cream and enjoy straight from the skillet!