Disney Princess Cupcakes: Special Birthday Cake for Daughter’s 5th Birthday!
Today, the Our Journey To Home Blog is a flashback!
One big part of making our house into a home is family traditions. And today I want to talk birthday! One beautiful memory I have growing up is the special birthday cakes my mom would make each of us kids. When my siblings and I were younger, she went all out to make us a fun themed cake for our birthdays.
I remember my sister had a telephone cake, my mom used pull and peel licorice to make the phone cord and the numbers. My brother had a campout cake where she made a campfire and little kids made out of teddy grahams in sleeping bags. And I remember getting a carousel cake! It had animal crackers on straws coming up out of the cake topped with a paper plate to make the top of the carousel.
All this to say, I wanted to make something special for our daughter Norah’s 5th birthday. It was relatively at the beginning of Covid quarantine, so everyone in the house needed something extra special and fun.
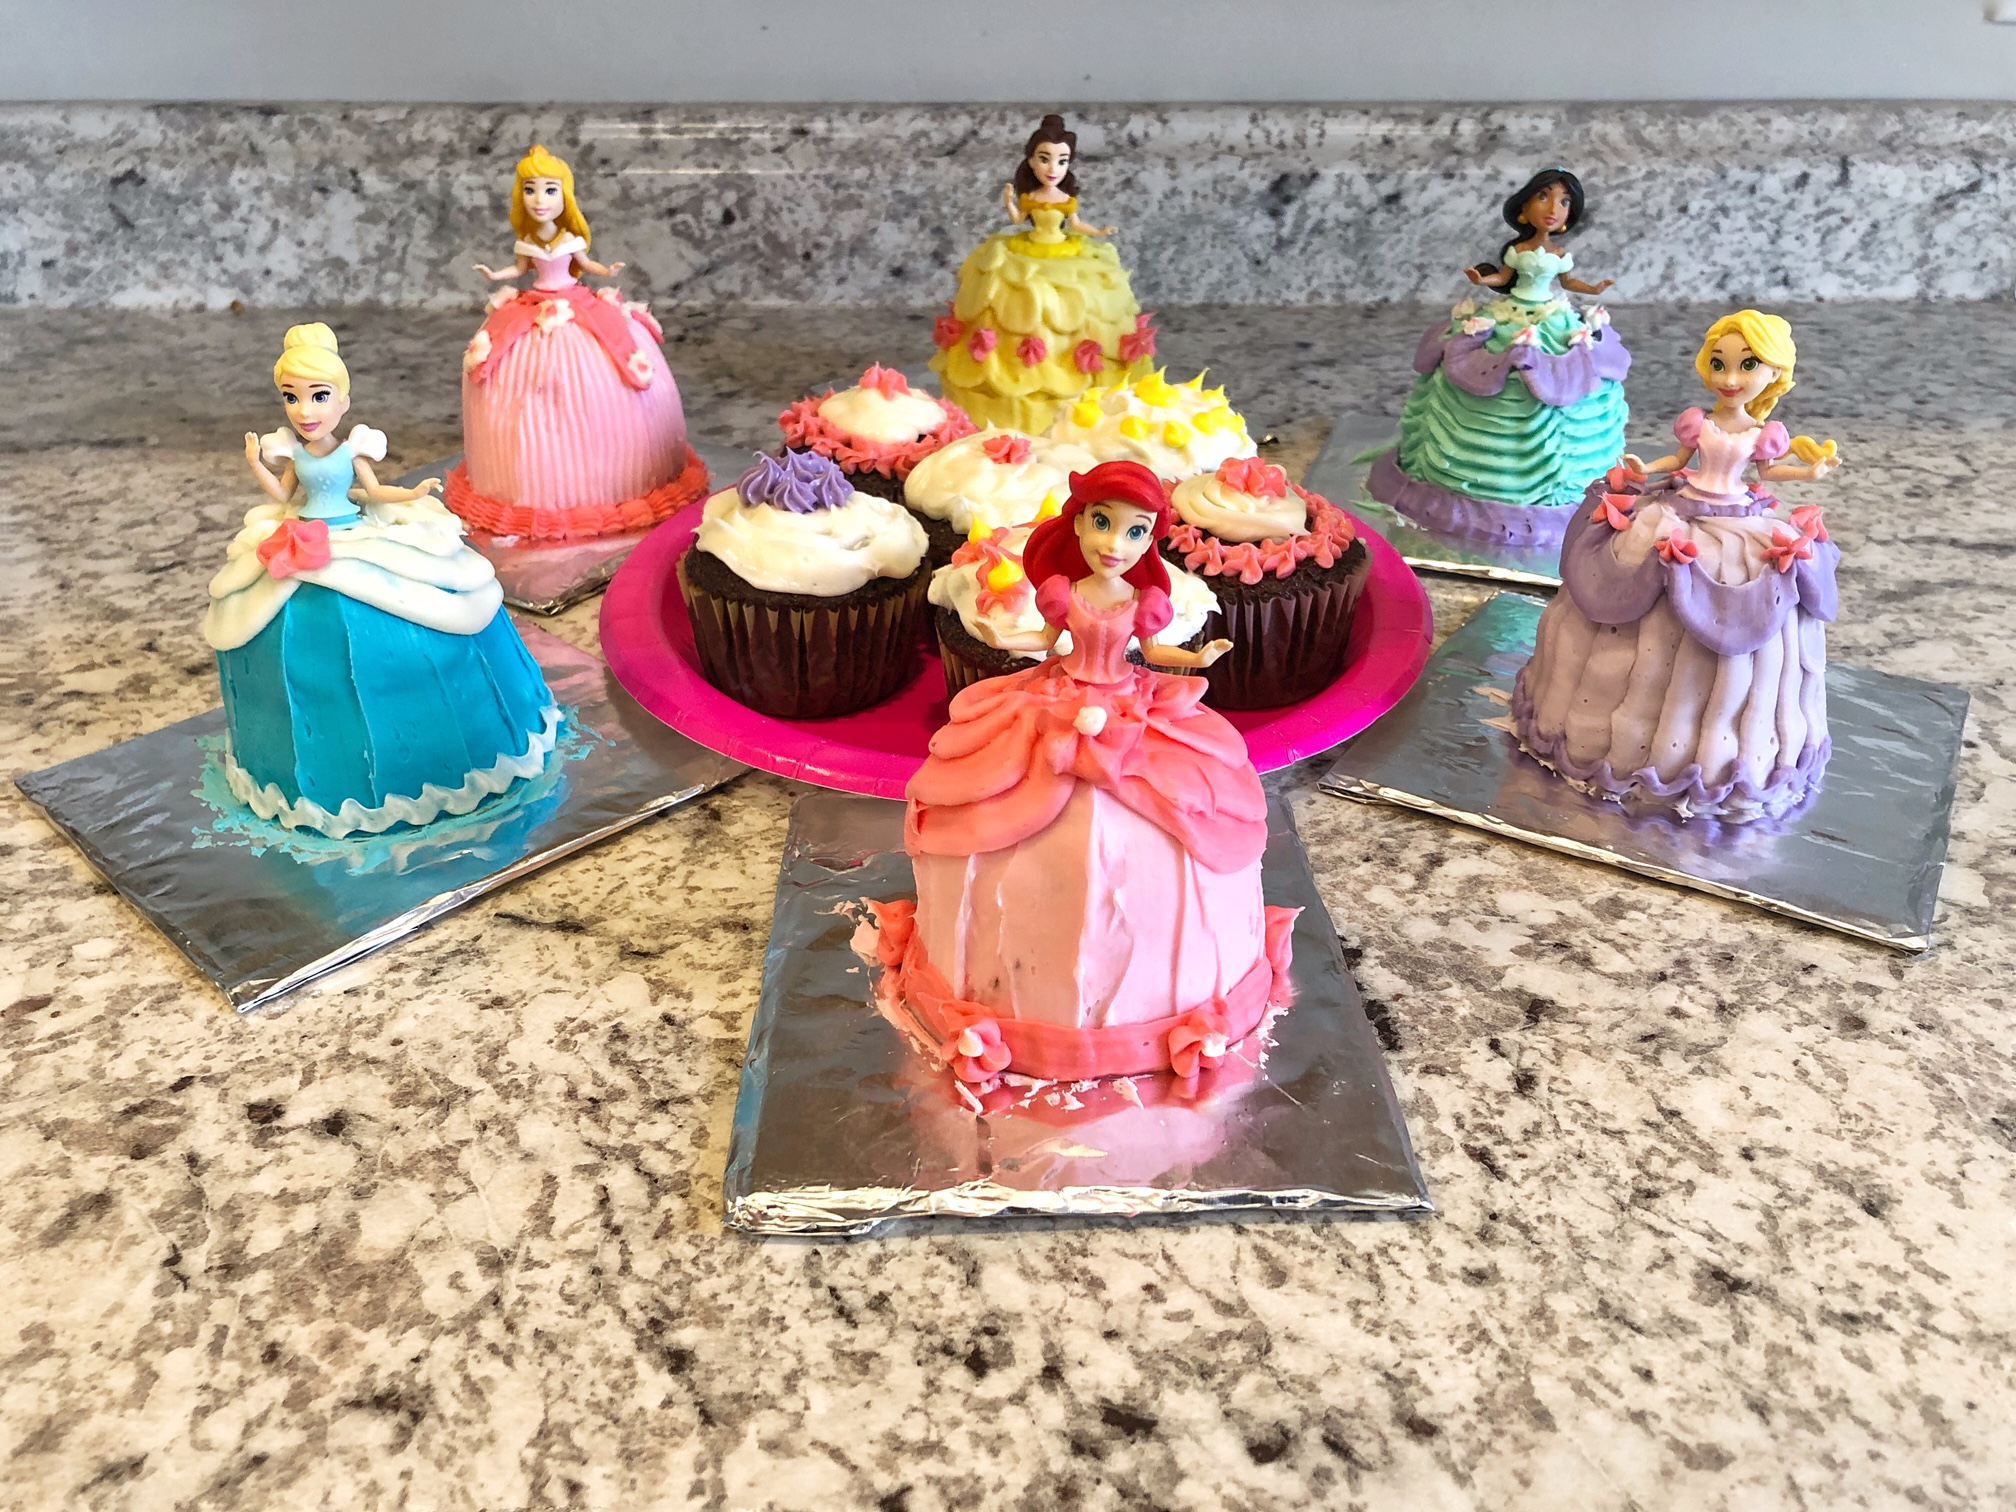
I decided to go for a Pinterest idea I found, Disney Princess Cupcakes!
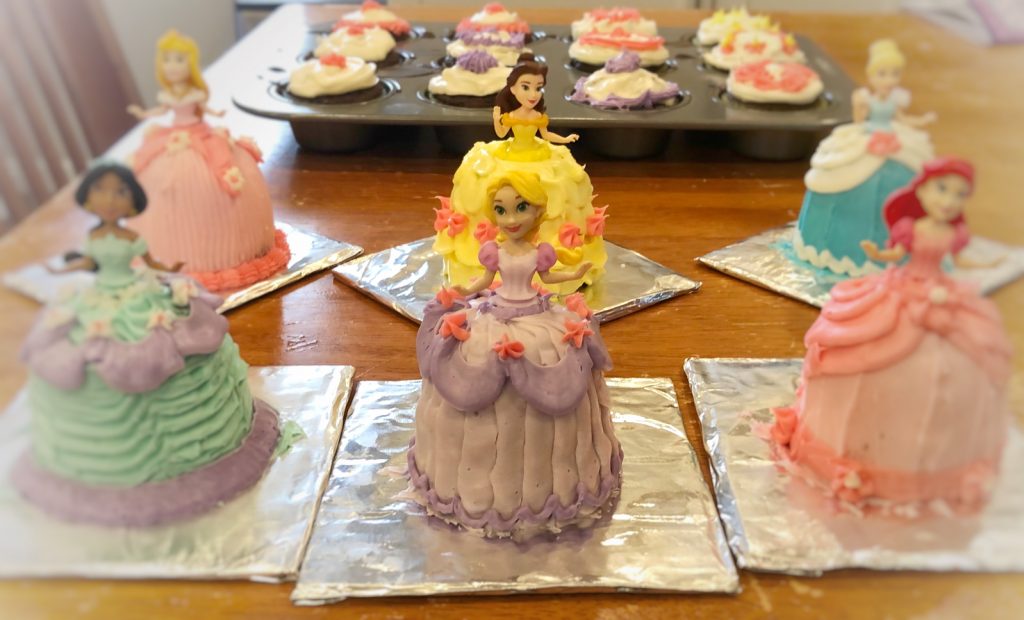
Starting out as an amateur cake decorator, I had no expectations on myself and just wanted to see how special I could make them for Norah on her birthday. But in the end, I think they turned out pretty darn cute!
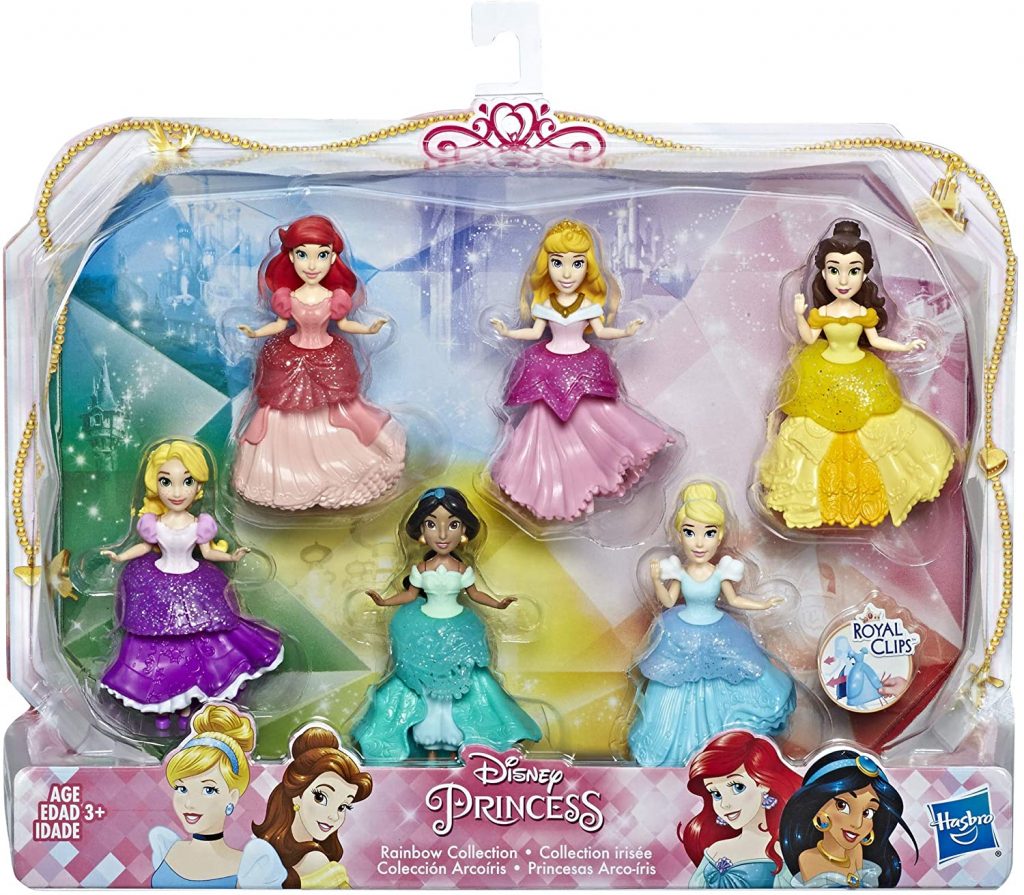
The first step was to purchase these Disney Princess Dolls to go into the cupcakes. Then I bought a chocolate cake mix, 3 tubs of vanilla frosting and some food coloring. (I like to have all the extra dye colors, it makes decorating so much easier. I bought mine awhile ago from a store and don’t have a link so I researched and tried to link a good set from amazon!)
From there I pulled up an inspiration picture of Disney princesses from the internet to reference when I decorated.

After that came to planning out all the colors, I honestly think this was the most confusing part. I segmented each princess into 3 colors. For example, I thought Ariel’s princess dress could be made from light pink, dark pink, and a pop of white. Once I did that for each princess, I roughly totaled the amount of frosting scoops I would need for each color.
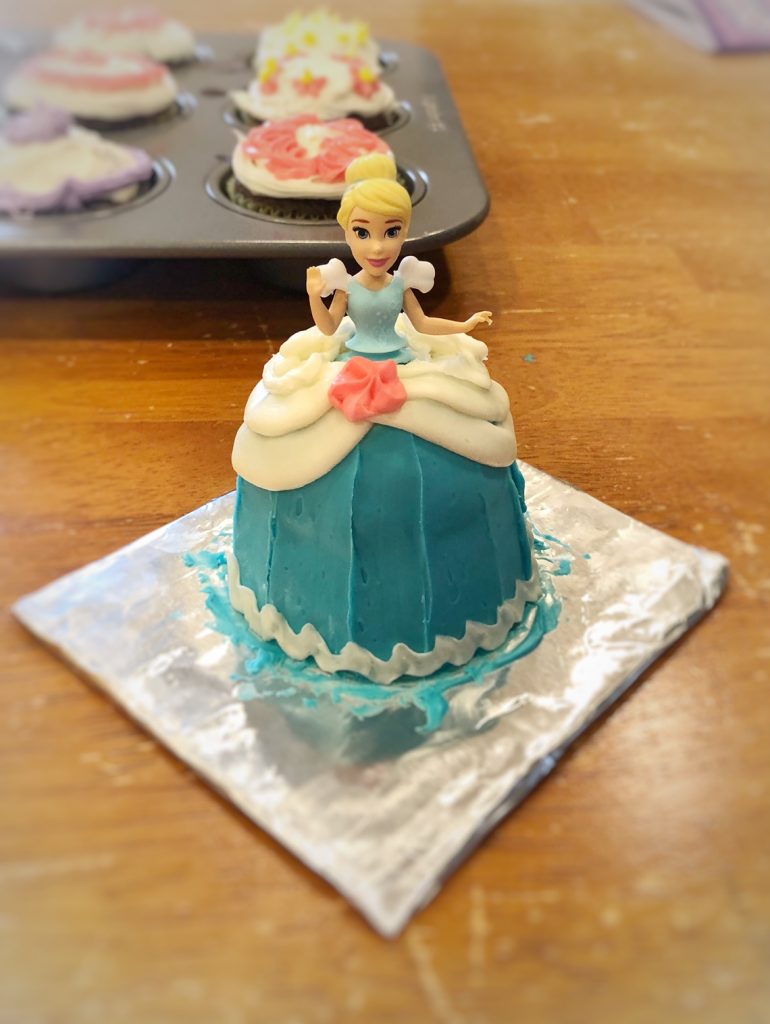
One thing to note is that you can start with light pink, frost what you need with it and then use that same base and make it darker pink with more food coloring. Same with starting with light blue and then just adding more food coloring to make it into my next color.
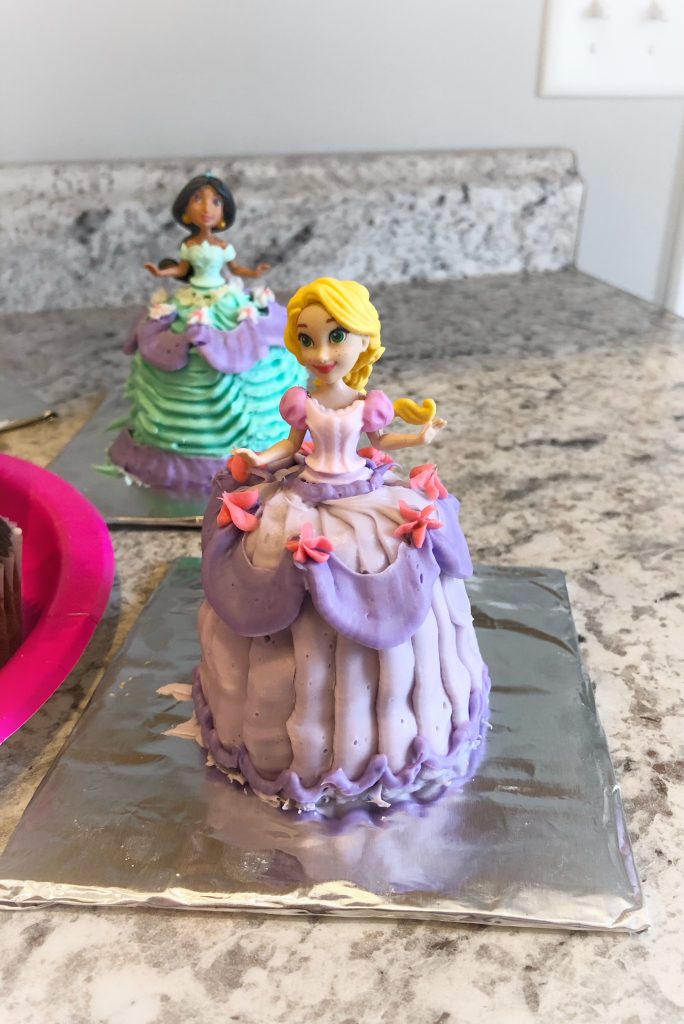
Next up was baking cupcakes. I just used the recipe on the back of the box for standard cupcakes. When they cooled I turned one cupcake upside-down and cut the bottom half off another cupcake and placed it on top of the upside-down cupcake, that way I used one and a half cupcakes to make a little tower. Then I took off the bottom half of all the princess dresses so I just had the girl and the bodice of their dress. I found it was easiest to insert the doll after decorating the dresses.
From there I simply got busy decorating! I used piping bags with different decorating tips to make different designs and textures on the dresses.
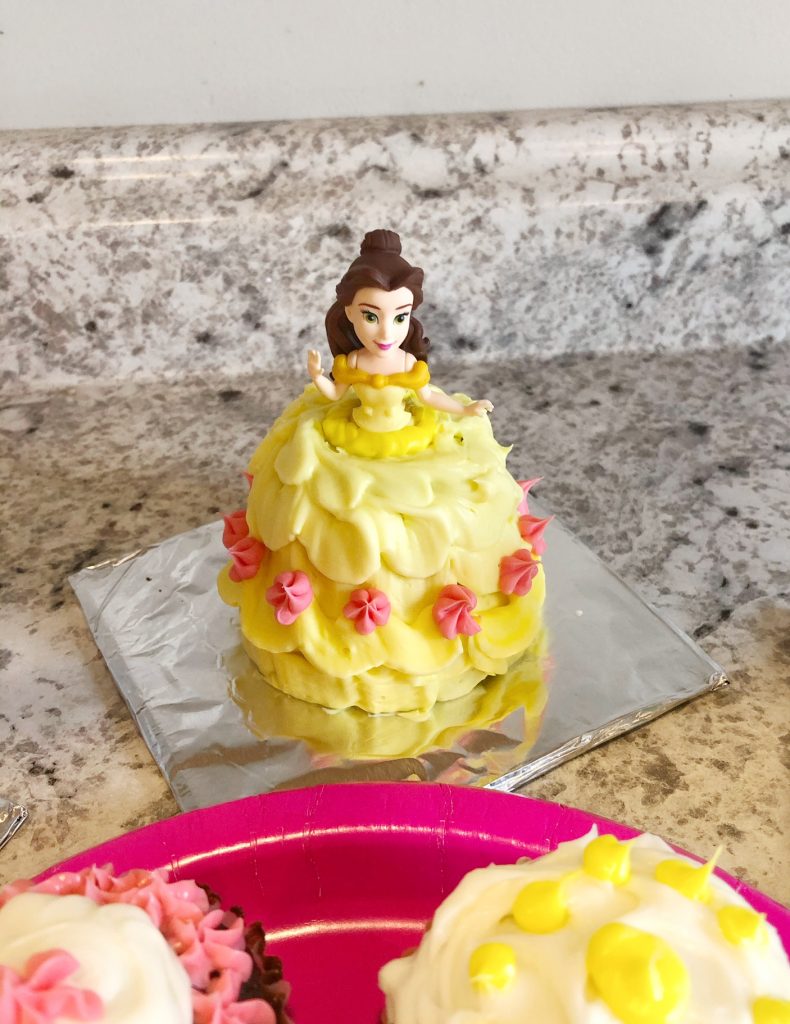
For example, I wanted Bell to have a billowy pickup dress so I started with yellow ribbons spiraling to the top of the dress. Then I made another layer of ribbon pickups at the bottom of the dress. I then changed to pink frosting and a star tip to make pink flowers on her dress. And finally, I colored the yellow frosting even darker with more yellow food coloring so that I could insert the doll after doing all of the dress decorating and patch the seam with a little bit of darker yellow frosting.
I also found these frosting scrapers were useful in adding fun textures to the dresses!
So what do you think? I hope you have the chance to design your own Disney Princess Cupcakes! Let me know how they turn out!
Never stop dreaming!
-Hailee