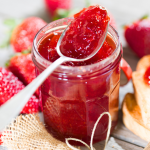
Homemade Canned Strawberry Jam: Recipe For Pink Sure-Jell Less Sugar Box
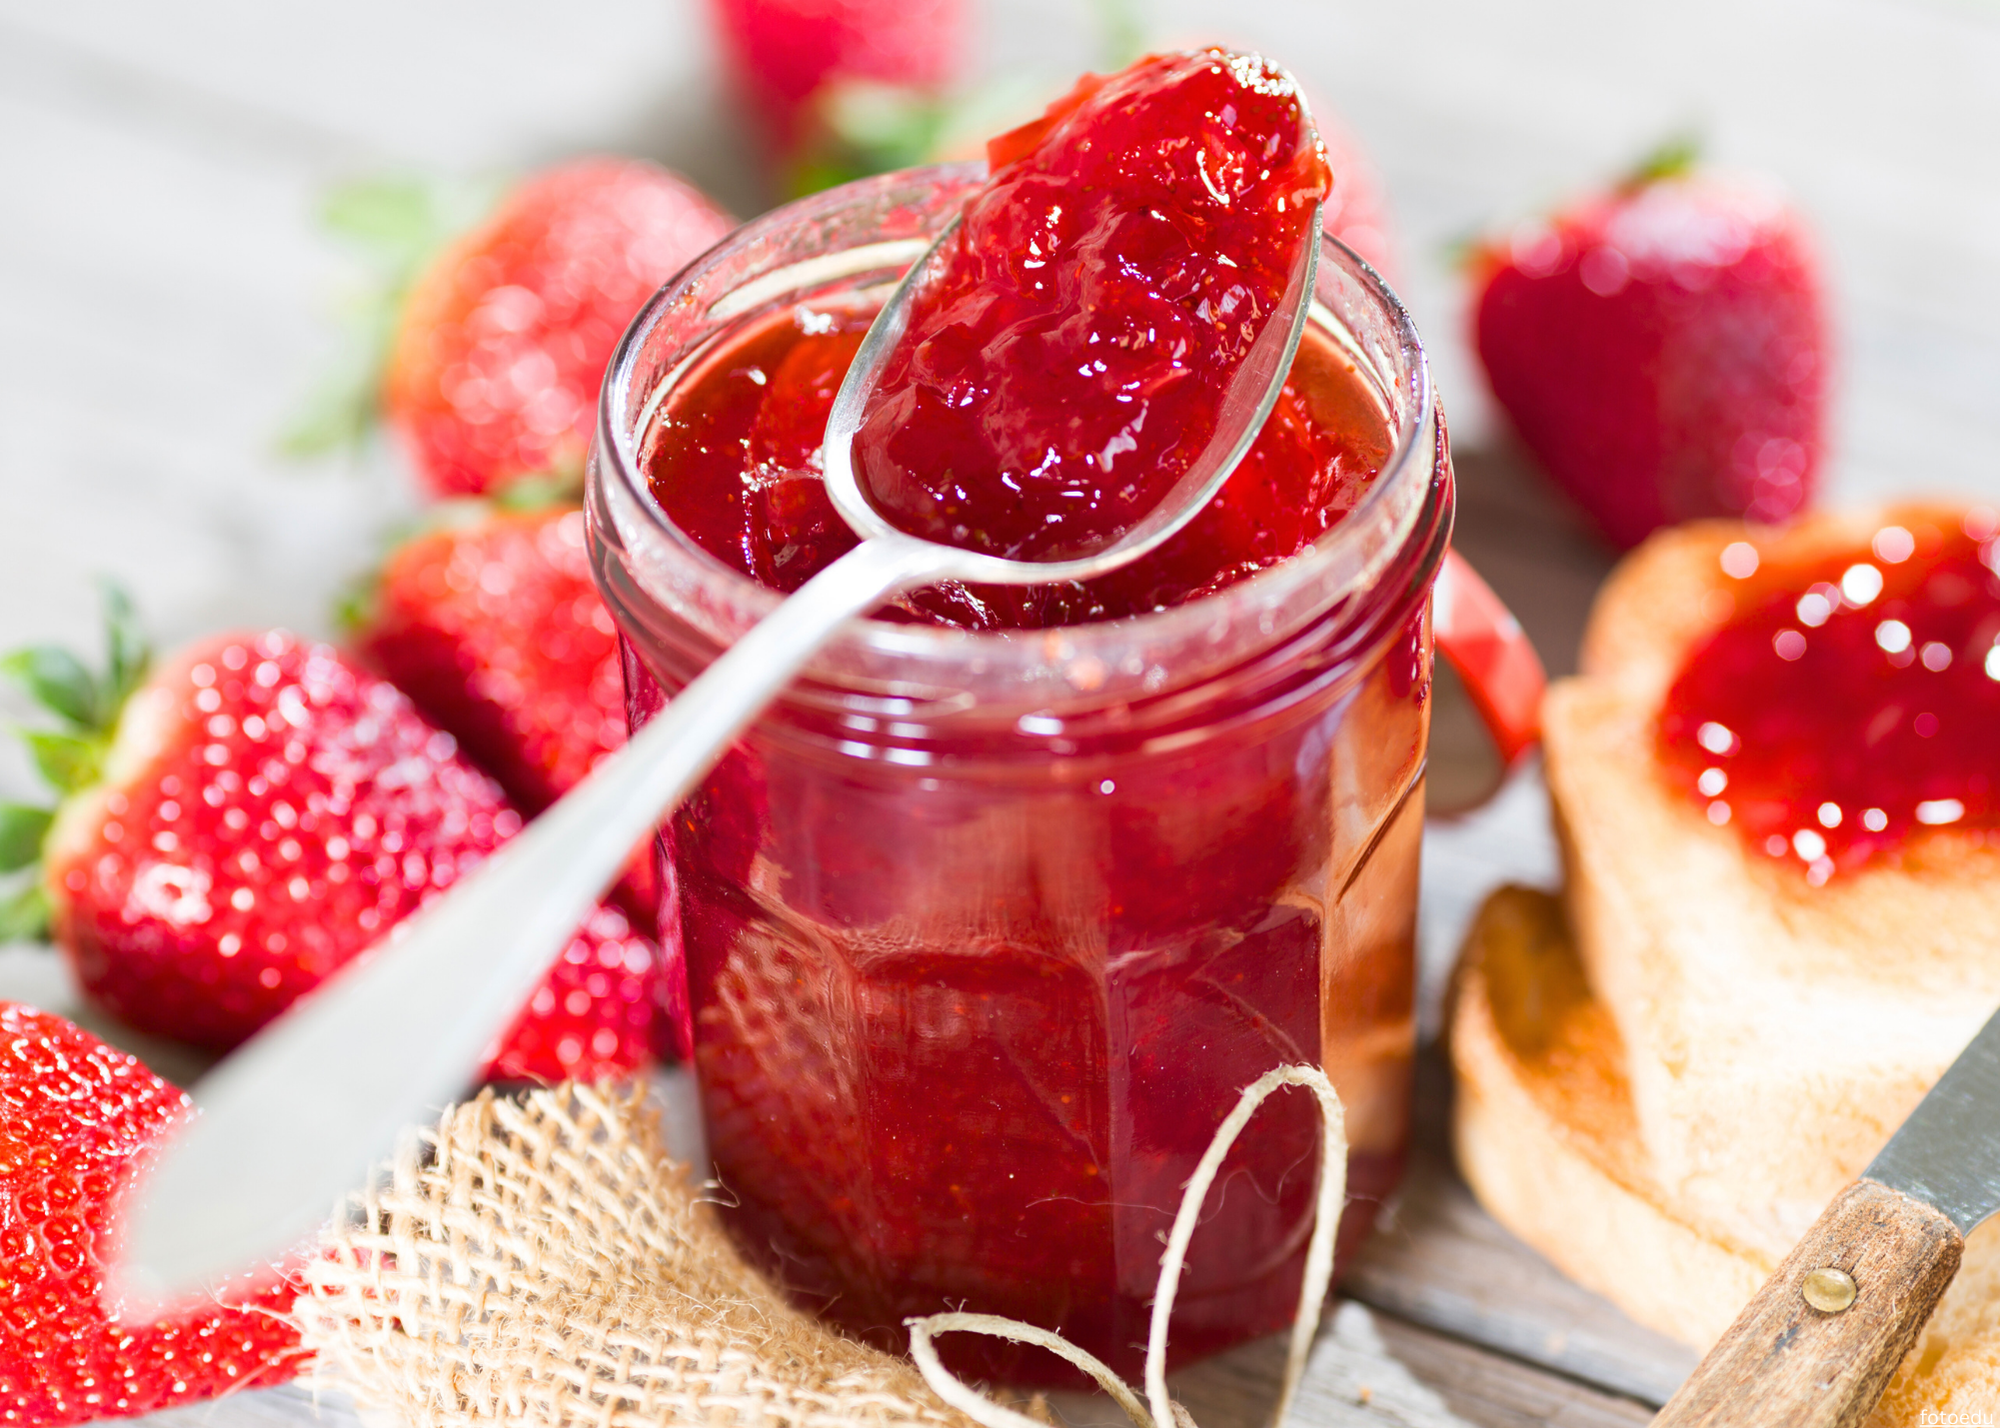
There’s something incredibly satisfying about making your own strawberry jam at home. With just a few simple ingredients, you can capture the sweet, summery flavor of fresh strawberries and enjoy it all year round. This homemade canned strawberry jam recipe is perfect for spreading on toast, dolloping on scones, or gifting to friends and family. Let’s get started!
Why You’ll Love This Recipe
- Fresh and Flavorful: Made with ripe strawberries, this jam is bursting with natural sweetness.
- Simple Ingredients: No preservatives or artificial flavors—just pure, wholesome goodness.
- Perfect for Canning: Preserve the taste of summer and enjoy it year-round.
If you are looking for the original insert no longer included in the Sure-Jell box, I’ve included photos of it here in this blog post.
VISIT OUR JOURNEY TO HOME’S WALMART STOREFRONT
Shop this recipe:
Blender | Potato Masher | Mixing Bowls | Medium Pot | 8oz Mason Jars | 16oz Mason Jars | Walmart Storefront Canning Collection
eligible for commission
Ingredients
- 6 cups fresh strawberries, hulled and mashed (This is about 3 lbs fresh strawberries)
- 4 cups granulated sugar
- 1 box (1.75 oz) Sure-Jell fruit pectin for less/no sugar recipes

Instructions
Step 1: Prepare the Strawberries
- Hull and Mash: Hull the strawberries and mash them in a large bowl until you have 6 cups of mashed berries.
- Mix with Sugar: In a large bowl, measure exact amount of sugar.
- In A Separate Bowl: Combine ¼ cup of sugar from the measured out amount and 1 package of Sure-Jell for less or no sugar needed fruit pectin to a small bowl. Stir into the fruit. (Optional: add ½ tsp butter or margarine which reduces foaming)
- Sterilize Jars: Sterilize your canning jars and lids by boiling them in water for 10 minutes. Keep the jars hot until ready to fill.
Step 2: Cook the Jam
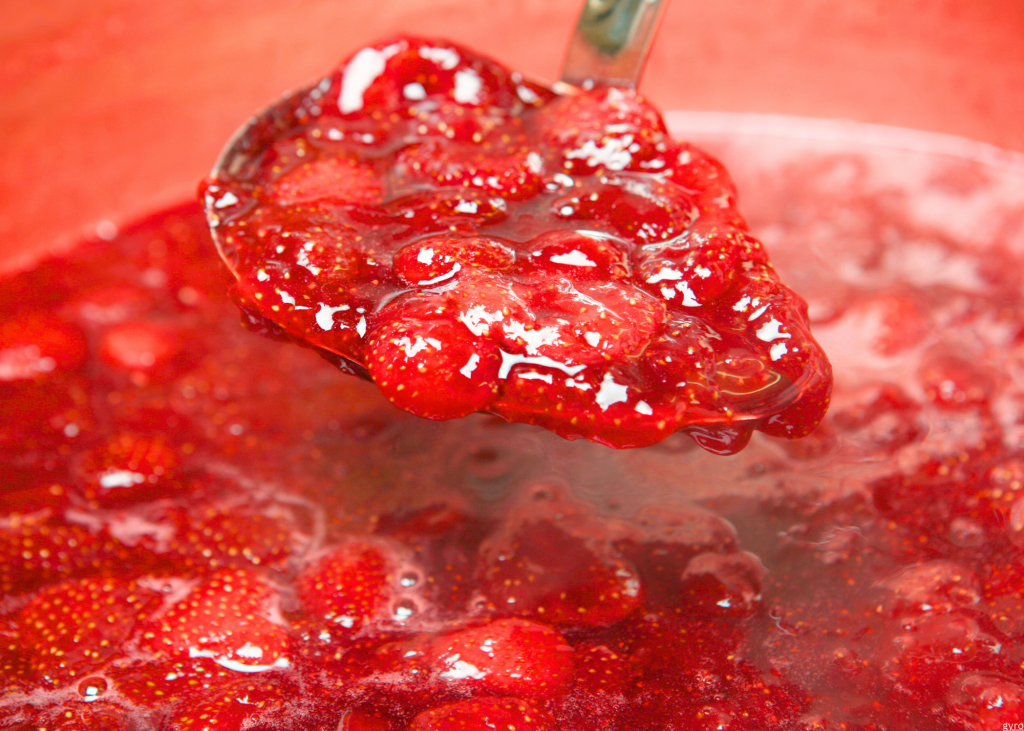
- Boil the Mixture: Place the pot over medium-high heat and bring the mixture to a rolling boil, stirring constantly. (Rolling boil: A boil that does not stop bubbling when stirring.)
- Stir in remaining sugar: Add in the remaining sugar. Return to rolling boil and boil for exactly 1 minute. Stir consistently. Then remove from the heat and skim off any foam with a metal spoon.
Step 3: Can the Jam
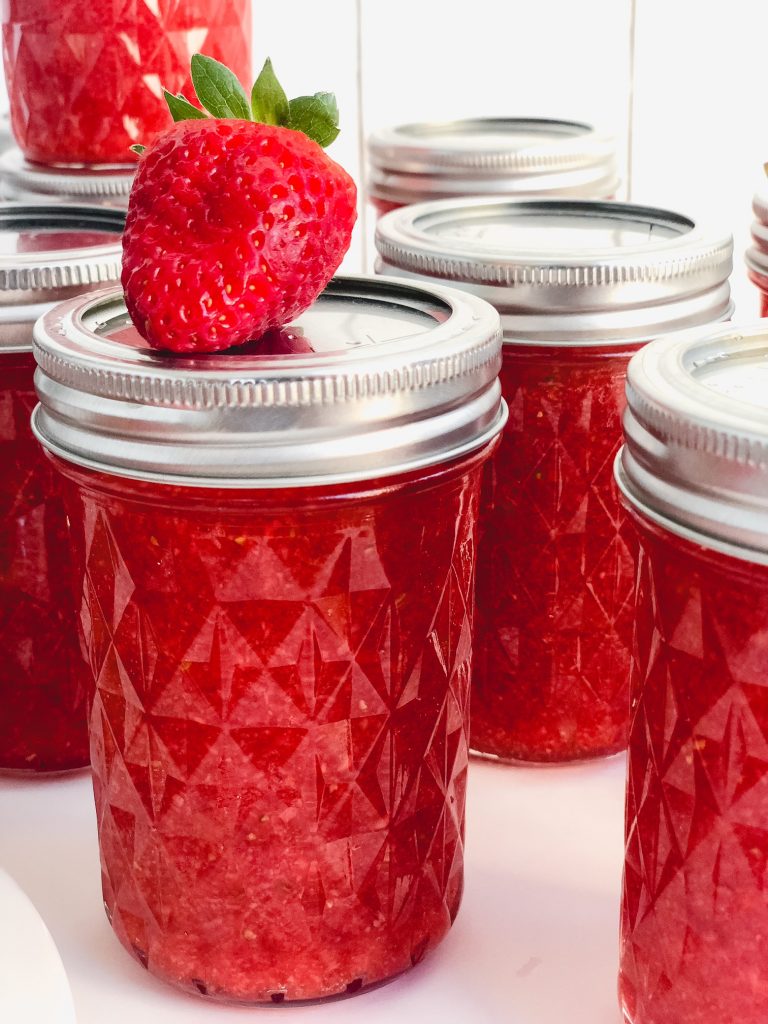
- Fill the Jars: Immediately ladle the hot jam into the sterilized jars, leaving about ¼ inch of headspace at the top. Wipe the rims and threads of the jars with a clean, damp cloth and place the lids on top. Screw on the bands until just fingertip-tight.
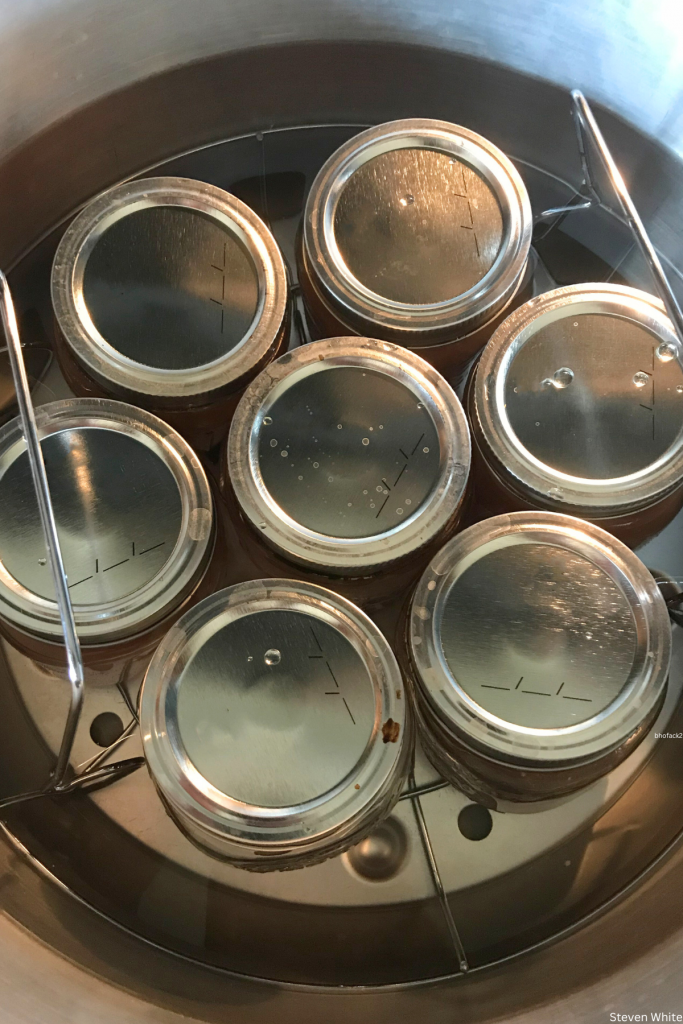
- Process the Jars: Place the filled jars in an elevated rack water canner. Ensure the jars are covered by at least 1-2 inches of water. Cover and bring to a gentle boil. Process for 10 minutes (adjusting for altitude if necessary).
- Cool and Store: Remove the jars from the canner and place upright on a towel to cool. After the jars cool, check the seals. The lids should not flex up and down when pressed. Let the prepared jars stay at room temperature for 24 hours. Store the sealed jars in a cool, dark place for up to a year. Any unsealed jars should be refrigerated and used within 3 weeks.
Tips for the Best Strawberry Jam
- Choose Ripe Strawberries: For the best flavor, use ripe, in-season strawberries.
- Consistency Check: If you prefer a smoother jam, blend the strawberries before cooking. For a chunkier texture, mash them lightly.
- Altitude Adjustment: If you live at a high altitude, be sure to adjust your canning time according to recommended guidelines. Link to blog post with photos of Sure-Jell’s Altitude Chart here. (Located at the bottom of photo 2)
Conclusion
There you have it—homemade canned strawberry jam that’s as delightful to make as it is to eat. This recipe is perfect for preserving the sweet taste of summer and sharing it with loved ones. Enjoy your jam on toast, in pastries, or straight from the jar!
Have you tried making your own jam? Share your tips and experiences in the comments below! And don’t forget to subscribe for more delicious recipes and canning tips. Happy jamming!
For more homemade recipes and kitchen inspiration, be sure to follow me on social media. Stay tuned for more culinary adventures!
VISIT OUR JOURNEY TO HOME’S WALMART STOREFRONT
Shop this recipe:
Blender | Potato Masher | Mixing Bowls | Medium Pot | 8oz Mason Jars | 16oz Mason Jars | Walmart Storefront Canning Collection
Homemade Canned Strawberry Jam Recipe
Equipment
- dry measuring cup
- liquid measuring cup
- large saucepan
- ladle
- 2 Large Bowls
- jars
- lids and ring seals
- canner with rack
Ingredients
- 6 cups crushed strawberries
- 4 cups sugar
Instructions
Step 1: Prepare the Strawberries
- Hull and Mash: Hull the strawberries and mash them in a large bowl until you have 6 cups of mashed berries.
- Mix with Sugar: In a large bowl, measure exact amount of sugar.
- In A Separate Bowl: Combine ¼ cup of sugar from the measured out amount and 1 package of Sure-Jell for less or no sugar needed fruit pectin to a small bowl. Stir into the fruit. (Optional: add ½ tsp butter or margarine which reduces foaming)
- Sterilize Jars: Sterilize your canning jars and lids by boiling them in water for 10 minutes. Keep the jars hot until ready to fill.
Step 2: Cook the Jam
- Boil the Mixture: Place the pot over medium-high heat and bring the mixture to a rolling boil, stirring constantly. (Rolling boil: A boil that does not stop bubbling when stirring.)
- Stir in remaining sugar: Add in the remaining sugar. Return to rolling boil and boil for exactly 1 minute. Stir consistently. Then remove from the heat and skim off any foam with a metal spoon.
Step 3: Can the Jam
- Fill the Jars: Immediately ladle the hot jam into the sterilized jars, leaving about ¼ inch of headspace at the top. Wipe the rims and threads of the jars with a clean, damp cloth and place the lids on top. Screw on the bands until just fingertip-tight.
- Process the Jars: Place the filled jars in an elevated rack water canner. Ensure the jars are covered by at least 1-2 inches of water. Cover and bring to a gentle boil. Process for 10 minutes (adjusting for altitude if necessary).
- Cool and Store: Remove the jars from the canner and place upright on a towel to cool. After the jars cool, check the seals. The lids should not flex up and down when pressed. Let the prepared jars stay at room temperature for 24 hours. Store the sealed jars in a cool, dark place for up to a year. Any unsealed jars should be refrigerated and used within 3 weeks.